Netgear Nighthawk XR1000 Router Setup
How to login Netgear Nighthawk Setup page
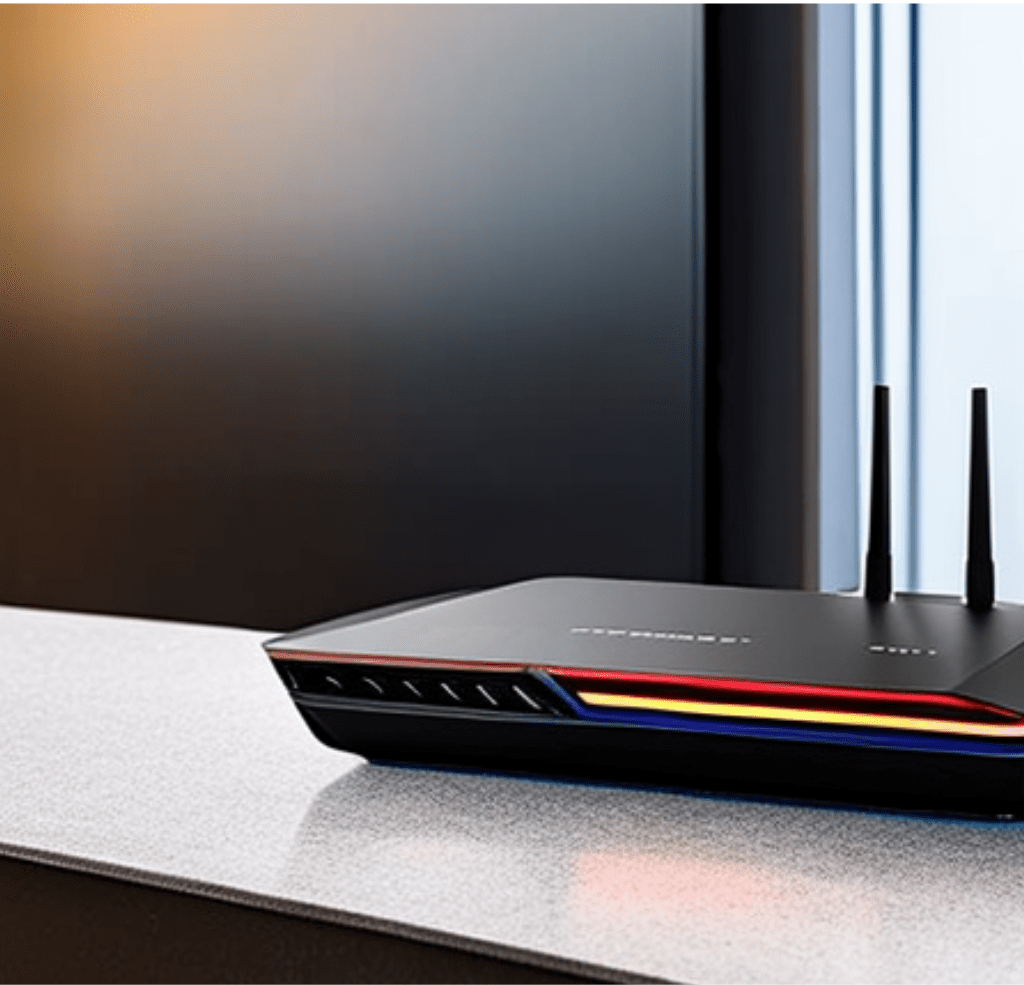
The Nighthawk XR1000 Pro gaming router was created with maximum gaming performance in mind. Furthermore, the Nighthawk AC2600 routers include advanced features that reduce lag on your Wi-Fi network. Its setup is also simple and user-friendly. This article will walk you through the entire Netgear Nighthawk XR1000 setup process.

- Connect the provided antennas to the Nighthawk XR1000 router.
- Connect the modem to the router’s Internet port.
- Wait for the LED light to illuminate before turning on the AC2600 router.
- Navigate to Google Play or any other app store on your smartphone.
- Use the search bar to find the Netgear Nighthawk App.
- When the download is complete, open the app on your device.
- Finally, configure the Nighthawk AC2600 by following the on-screen instructions.
I still can’t connect to the Nighthawk AC2600 Router
If you are still unable to connect to your Nighthawk AC2600 gaming router, follow the troubleshooting steps outlined below:
- Check that all cable connections are secure.
- Place your gaming router and modem close together to ensure proper Wi-Fi signal reception.
- If your router’s network is linked to many devices, turn them off first.
- Make sure your router is properly connected to the power source.
- Check that your web browser is up to date.
- Delete the cache, cookies, and history from your browser.
- Try using a different internet browser.
- Reboot both the router’s network and the router/modem.
- Use a wired connection instead of a wireless connection.
- Check the DNS server and refresh the web page to resolve 404 errors.
- If all previous troubleshooting steps fail, reset your router.
How Do You Change Your Netgear XR1000 Nighthawk WiFi Name and Password?
The router label contains the default SSID (or WiFi name) and password. Follow these steps to change the network name and password on your Netgear XR1000 Nighthawk router:
- Go to Settings > Setup > Wireless Setup after logging in.
- The Wireless Settings screen will be displayed.
- The 2.4 GHz and 5 GHz bands can be configured independently.
- Fill in your new name in the Name (SSID) field.
- Choose WPA from the Security Options menu.
- For the highest level of security, WPA2 options employ the latest standard. WPA2-PSK [AES] is the default setting.
- The Pass field is visible.
- In the Password field, enter the network key (password).
- Click the Apply button to save the changes.
Remember to reconnect your WiFi devices to the network after enabling the new security.
How to Troubleshoot Netgear Nighthawk XR1000 Setup Issues?
- Check all cable connections, including power and Ethernet cables.
- Ensure that no cable is disconnected.
- Keep a clear path between the router and modem; ensure there are no competing WiFi signals.
- Turn off any unused devices if most devices are connected to your network.
- Check that the Netgear Nighthawk Pro Gaming XR1000 router is receiving enough power.
- If the router login fails, check your web browser first.
- Make sure the web browser is up to date.
- Clear the cache and cookies, and disable any proxy servers if necessary.
- Restart the network, router, and modem.
- If connected wirelessly, try using a wired connection.
- If the default Netgear username and password do not work, check the manual for credentials.
- To resolve lost credential issues with www.routerlogin.net, perform a hard reset of your router.
- To resolve VPN issues, disable proxy servers and firewall when configuring the router.
- To fix Netgear 404 errors, check DNS servers and hard refresh the web page.
- Orange light errors on Netgear routers can be fixed by identifying and troubleshooting connectivity issues.
- Reinstall the network adapter driver from the control panel and update your router’s firmware to resolve Netgear router error 651.