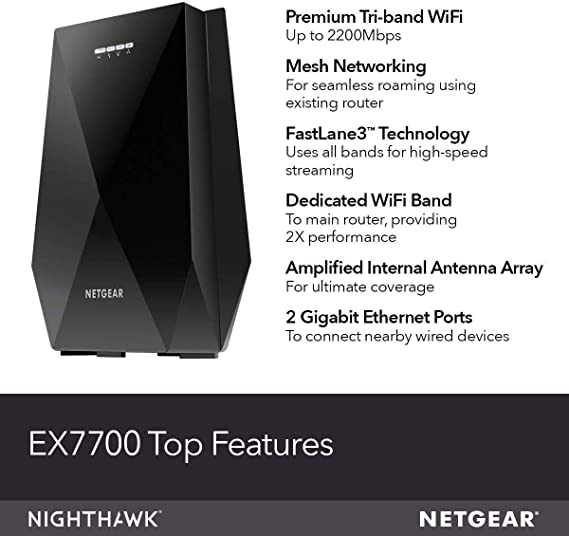
Netgear Nighthawk EX7700
Netgear EX7700 Setup guide: Fighting dead zones in your residence? Getting quick internet access in your living room but no internet connectivity in the backyard anymore? Netgear extenders or My Wifi Ext Info allow incoming wireless signals through your existing home network and then enhance them to every corner of your house. Generally, the Netgear Extender acts as a link, taking WiFi from your router and rebroadcasting it around your home.
Step-by-step instruction for Netgear EX7700 WIFI extender setup:
- To begin the Netgear EX7700 setup, plug your extender into a power outlet.
- When you see the power led light on the EX7700.
- Access any WIFI-enabled device, such as a wireless desktop or laptop computer.
- Now, from the WIFI settings menu, connect your device to Netgear ext.
- Once connected, open a web browser i.e. Mozilla Firefox or Google Chrome.
- Type www.mywifiext.net on the address bar of the web browser.
- Netgear EX7700 mesh extender setup screen appears on your laptop or desktop.
- Follow the steps to link your AC2200 to your existing WIFI network.
How to configure my Netgear EX7700 WIFI range extender?
To setup Netgear EX7700 Nighthawk X6, follow the steps given below:
- Plug the EX7700 extender into an electrical socket.
- To begin the setup, wait until the Power LED on the Netgear AC2200 turns white.
- From a computer or a mobile device, open a web browser and type in “ My Wifi Ext Info”.
- You are now on the Netgear EX7700 installation page.
- Follow the on-screen instructions in order to configure the extender.
- Unplug the WIFI booster and place it where you have a weak WIFI connection.
Netgear EX7700 Firmware Update | AC2200
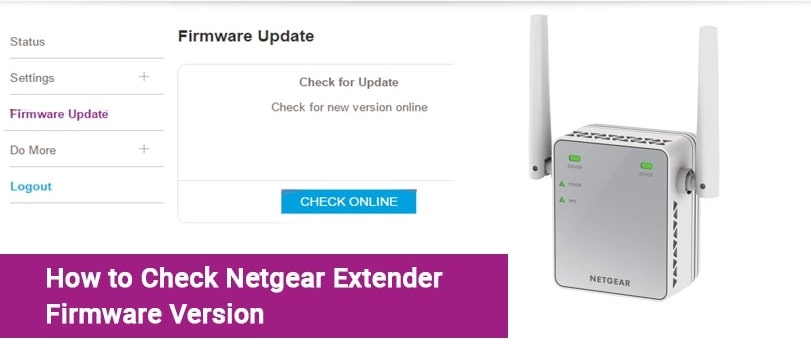
To update your Netgear EX7700 AC2200 range extender’s firmware, follow the steps below:
- Switch on your Netgear Nighthawk X6 AC2200 EX7700 first and foremost.
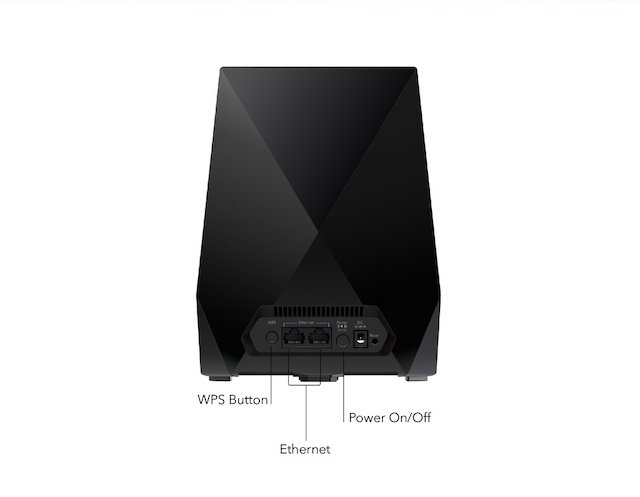
- Connect the Nighthawk EX7700 Mesh Extender to your router.
- After that, open your preferred web browser.
- In the address bar, type mywifiext.net and press Enter.
- Type the username and password to log in to your Netgear X6 AC2200.
- To upgrade the firmware, go to the Settings menu and choose Firmware Upgrade.
- After that, press the check button.
- If a new firmware update is available, select Yes to upgrade the firmware.
- Now wait a while for the Netgear EX7700 firmware to update properly.
Netgear AC2200 | Common Issues
To setup Netgear EX7700 Nighthawk X6, follow the steps given below:
No light lit up on the Netgear EX7700.
Unable to setup Netgear AC2200 using 192.168.1.250
Mywifiext.net is not opening up.
The WIFI extender is connected but has no internet connection.
Forgotten the login Id username and password to access the genie setup page.
Unable to log in to Netgear EX7700 Setup page.
Can’t install the Netgear AC2200 firmware.
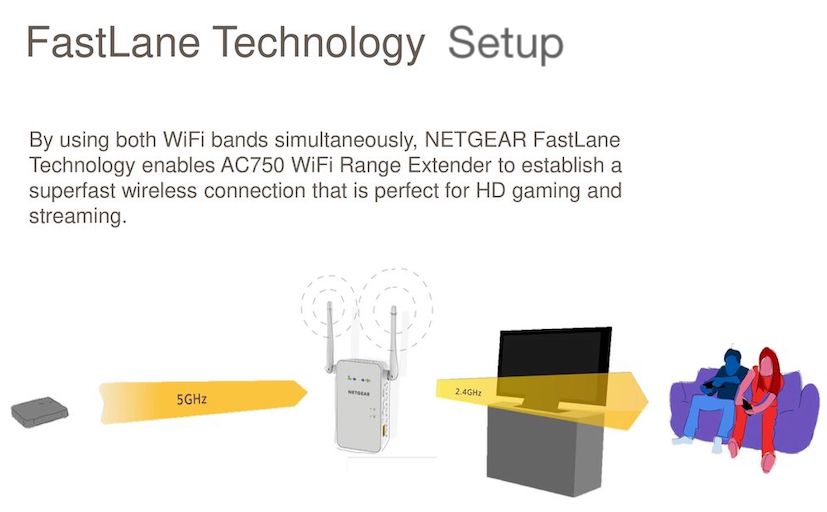
Netgear AC2200 Nighthawk X6 Fastlane Setup
To setup Netgear EX7700 Nighthawk X6, follow the steps given below:
Connect the Netgear AC2200 Nighthawk extender to your WiFi device.
Open any web browser, such as Microsoft Edge, Google Chrome, or Internet Explorer.
In the address bar, type mywifiext.net.
Enter the username and password for the Netgear EX7700 Login page.
Wait until the Netgear EX7700 Nighthawk Setup page appears.
Click on the ‘Do More’ option, then select the FastLane option.
Configure your Netgear Nighthawk AC2200 with FastLane and press the Save button.